Guide to Installing XBMC and Ubuntu on an Acer Revo
This year as a Christmas gift, my Dad bought my Mom an Acer AspireRevo, a tiny desktop computer particularly well-suited for life as an HTPC. She’d asked for a modern solution to watching movies on the TV and we decided to put together the best possible media playback solution, and at a very competitive price point.
Having recently investigated a variety of the top home theatre packages, I immediately suggested XBMC, a software package originally designed for hacked Xboxes, and which has since grown into a very solid standalone product. I know of two alternatives that didn’t win out in this case, but are great home theatre solutions nevertheless:
Networked media tanks: products like the Popcorn Hour and WD TV Live are surprisingly good for HD playback and certainly the best economy option. Their major downside is the interface itself, which is fairly bland (comparatively), and doesn’t easily support advanced features like automatic directory indexing and metadata downloading.
Plex: this suite is similar to XBMC and offers the same completeness with even more polish. Its major disadvantages are price (need a Mac), and that the head of the project has plastered pictures of his dog all over the UI.
This guide will walk you through the basic steps to get XBMC up and running at its maximum potential (some steps are specific to the Revo).
Ubuntu
Install your preferred version of Ubuntu via USB stick. I’d also recommend installing an OpenSSH server so that you can perform maintenance remotely (also, the Revo’s keyboard is brutal to type on).
sudo apt-get install openssh-server
XBMC
A streamlined package management system in newer versions of Ubuntu has made installing XBMC dead easy. Run this set of commands:
sudo apt-get install python-software-properties pkg-config
sudo add-apt-repository ppa:team-xbmc
sudo apt-get update
sudo apt-get install xbmc xbmc-standalone
sudo apt-get update
Vendor-specific video drivers should also be installed. This can easily be done through the Ubuntu UI these days, or via apt-get. These video drivers will allow XBMC to leverage hardware accelerated decoding of HD material (through a library called VDPAU), and provide some relief to the Revo’s poor Atom processor.
sudo apt-get install libvdpau1 nvidia-libvdpau
An immediate step should be to disable Compiz. Leaving it on will result in a great deal of tearing artifacts appearing on screen.
Revo Problems
Resolution
Our screen wouldn’t default to its full 1920x1080 resolution. We fixed this by making sure that the Nvidia drivers were installed, and changing resolution through the Nvidia configuration pane. Ubuntu’s default display settings weren’t able to access the correct resolution presets.
No Sound via HDMI
HDMI cables carry sound as well, but our Revo wouldn’t produce any. We solved the problem by installing a terminal program called alsamixer:
sudo apt-get install alsamixer
Open it by typing alsamixer at a terminal prompt and its text UI will appear. Move the right arrow over to S/PDIF 1 and press m to unmute it. This should fix the problem, but you’ll lose this setting between restarts. Persist your changes by exiting the mixer (using Esc) and running alsactl store.
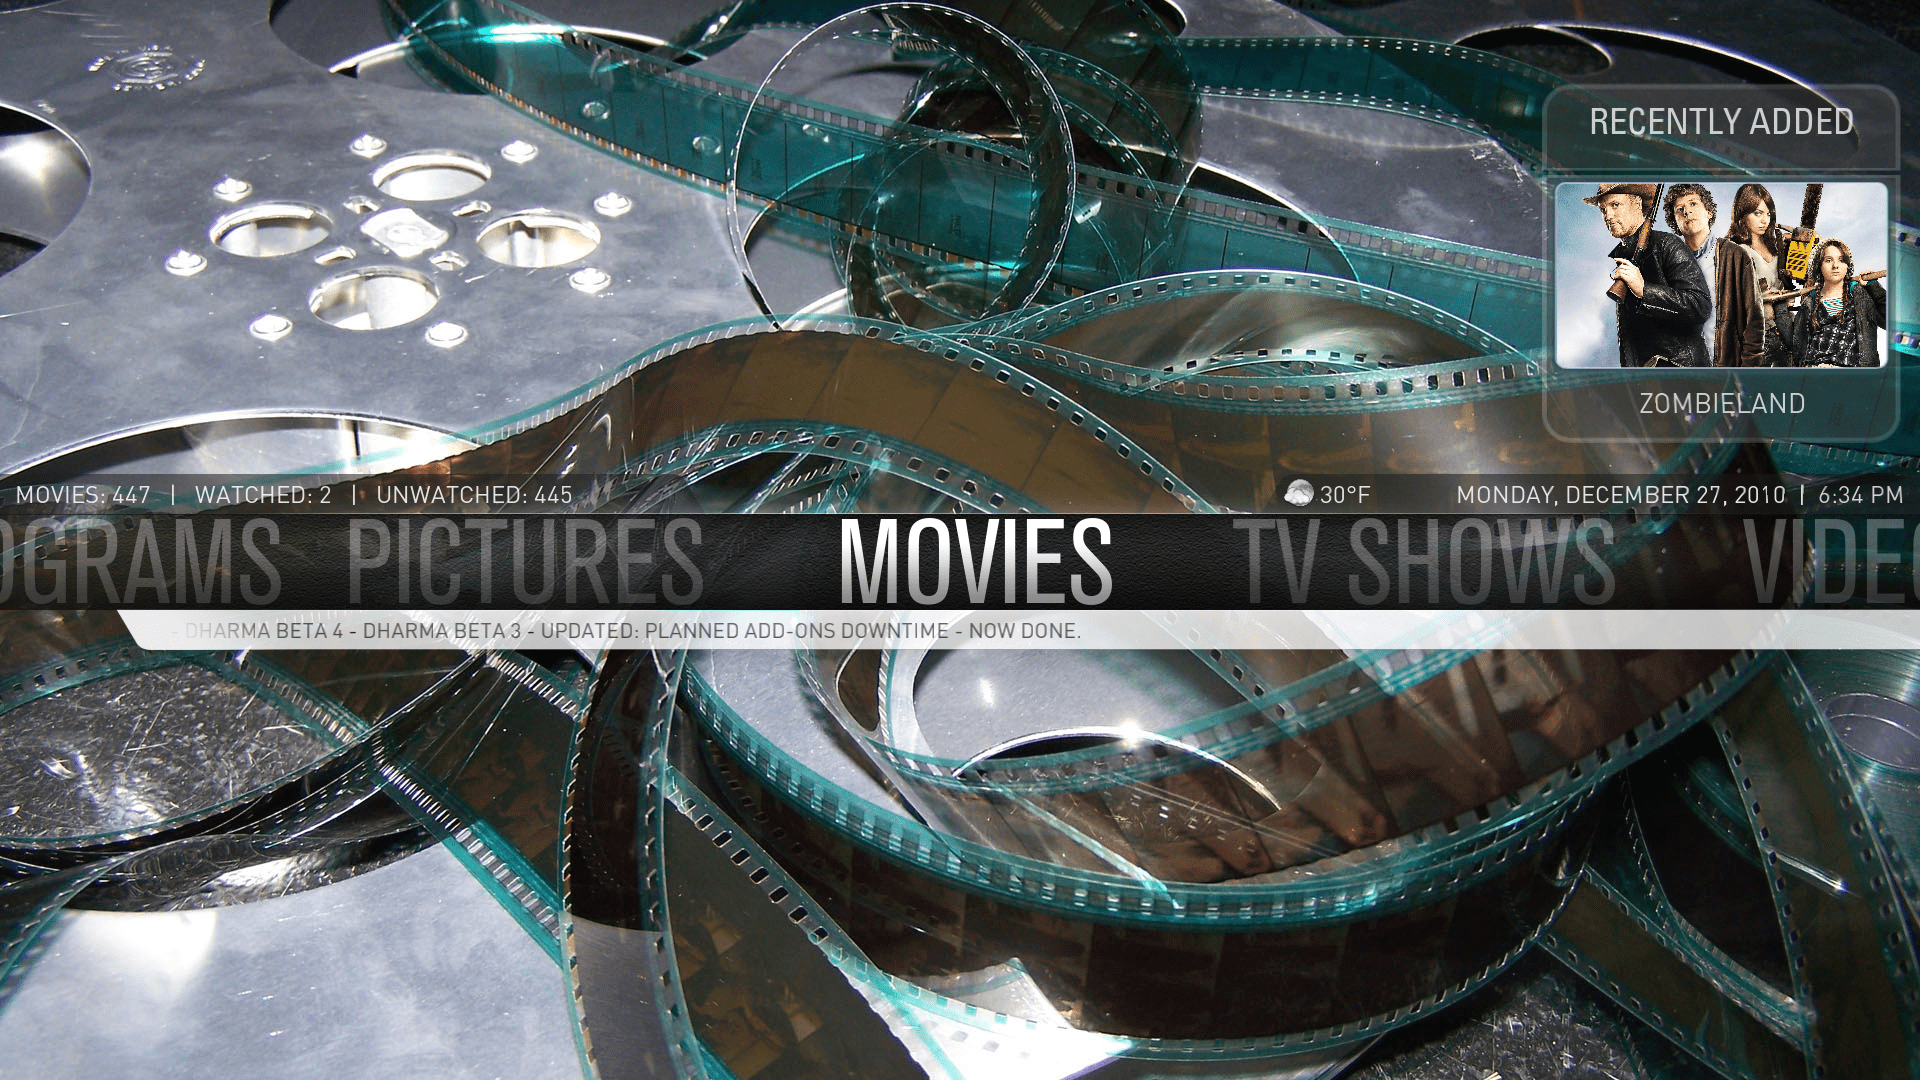
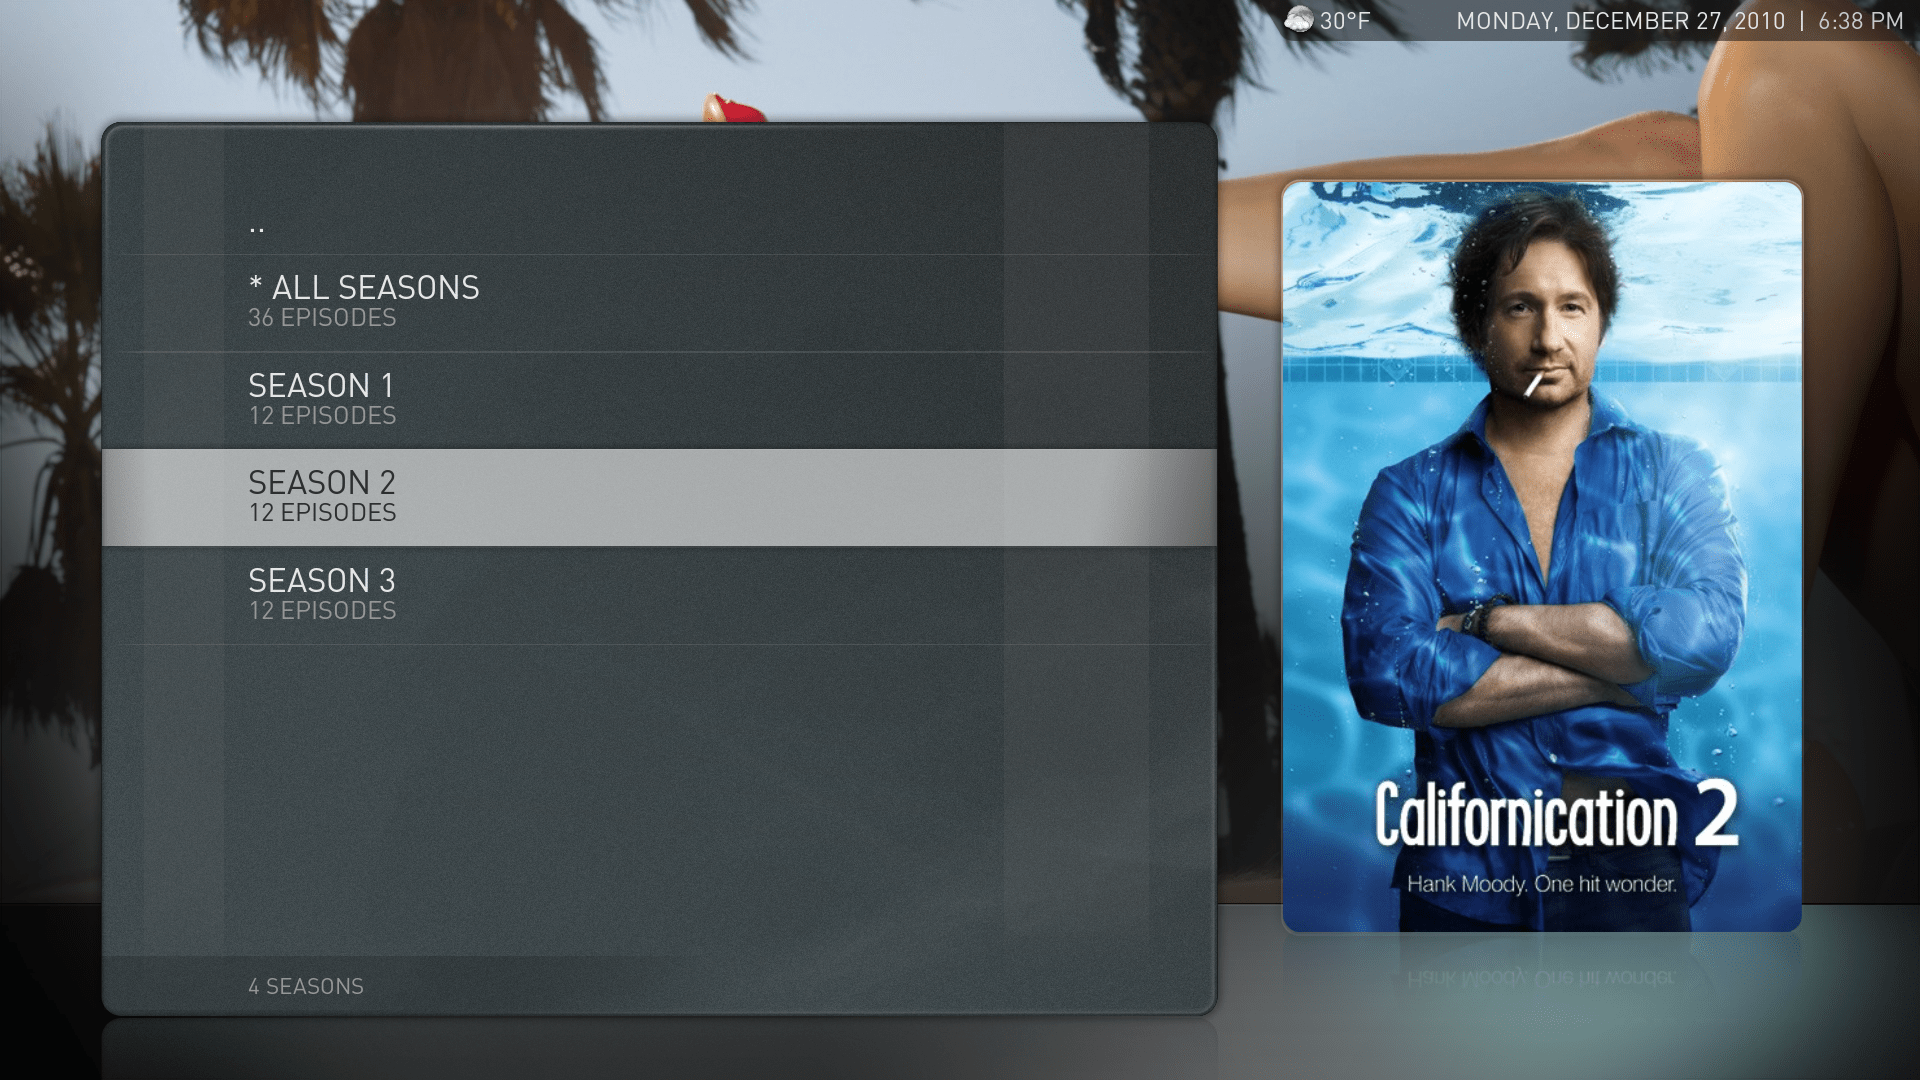
Aeon
Confluence, the default XBMC is nice, but another skin called Aeon is even more astonishingly beautiful. Aeon development has been discontinued, but a new project called Aeon65 is available to replace it. Install Git so we can retrieve its repository:
sudo apt-get install git-core
Now set your directory and retrieve Aeon65:
cd ~/.xbmc/addons
git clone git://github.com/pix/aeon.git skin.aeon65
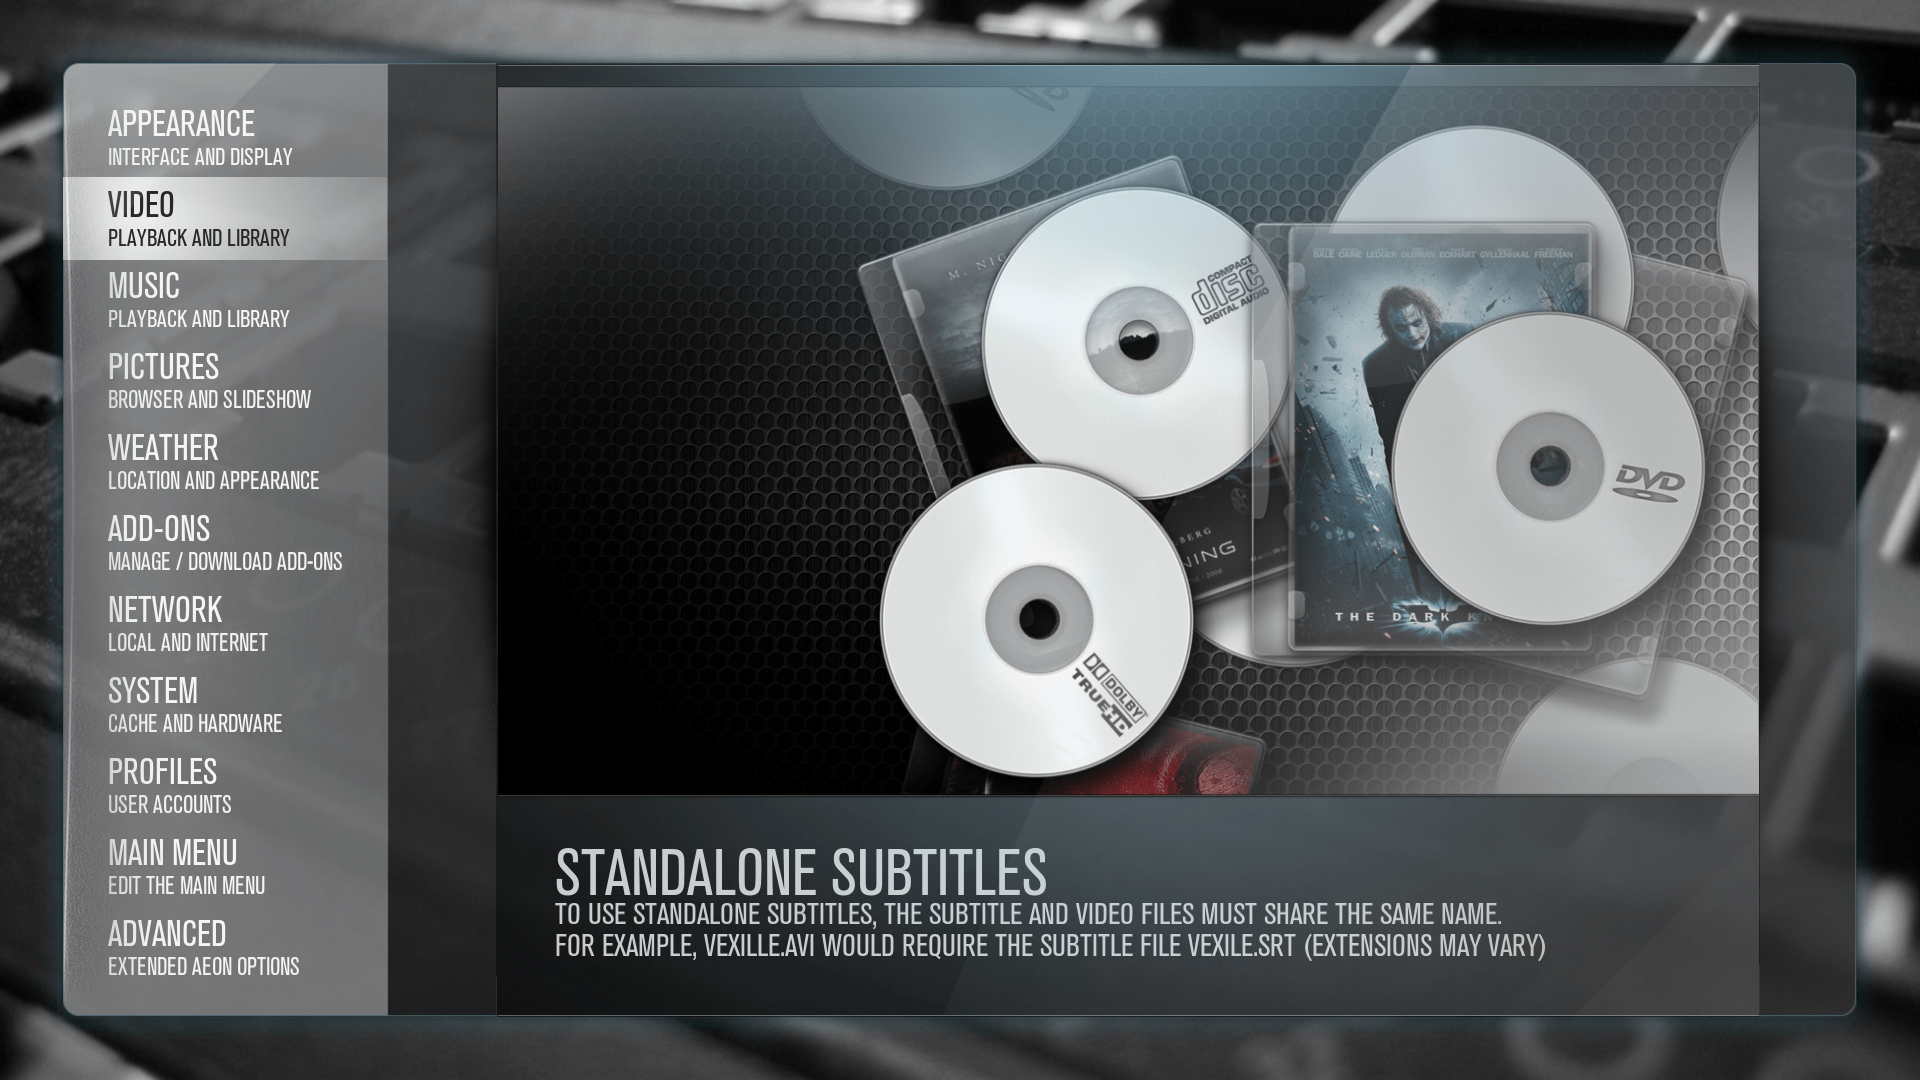
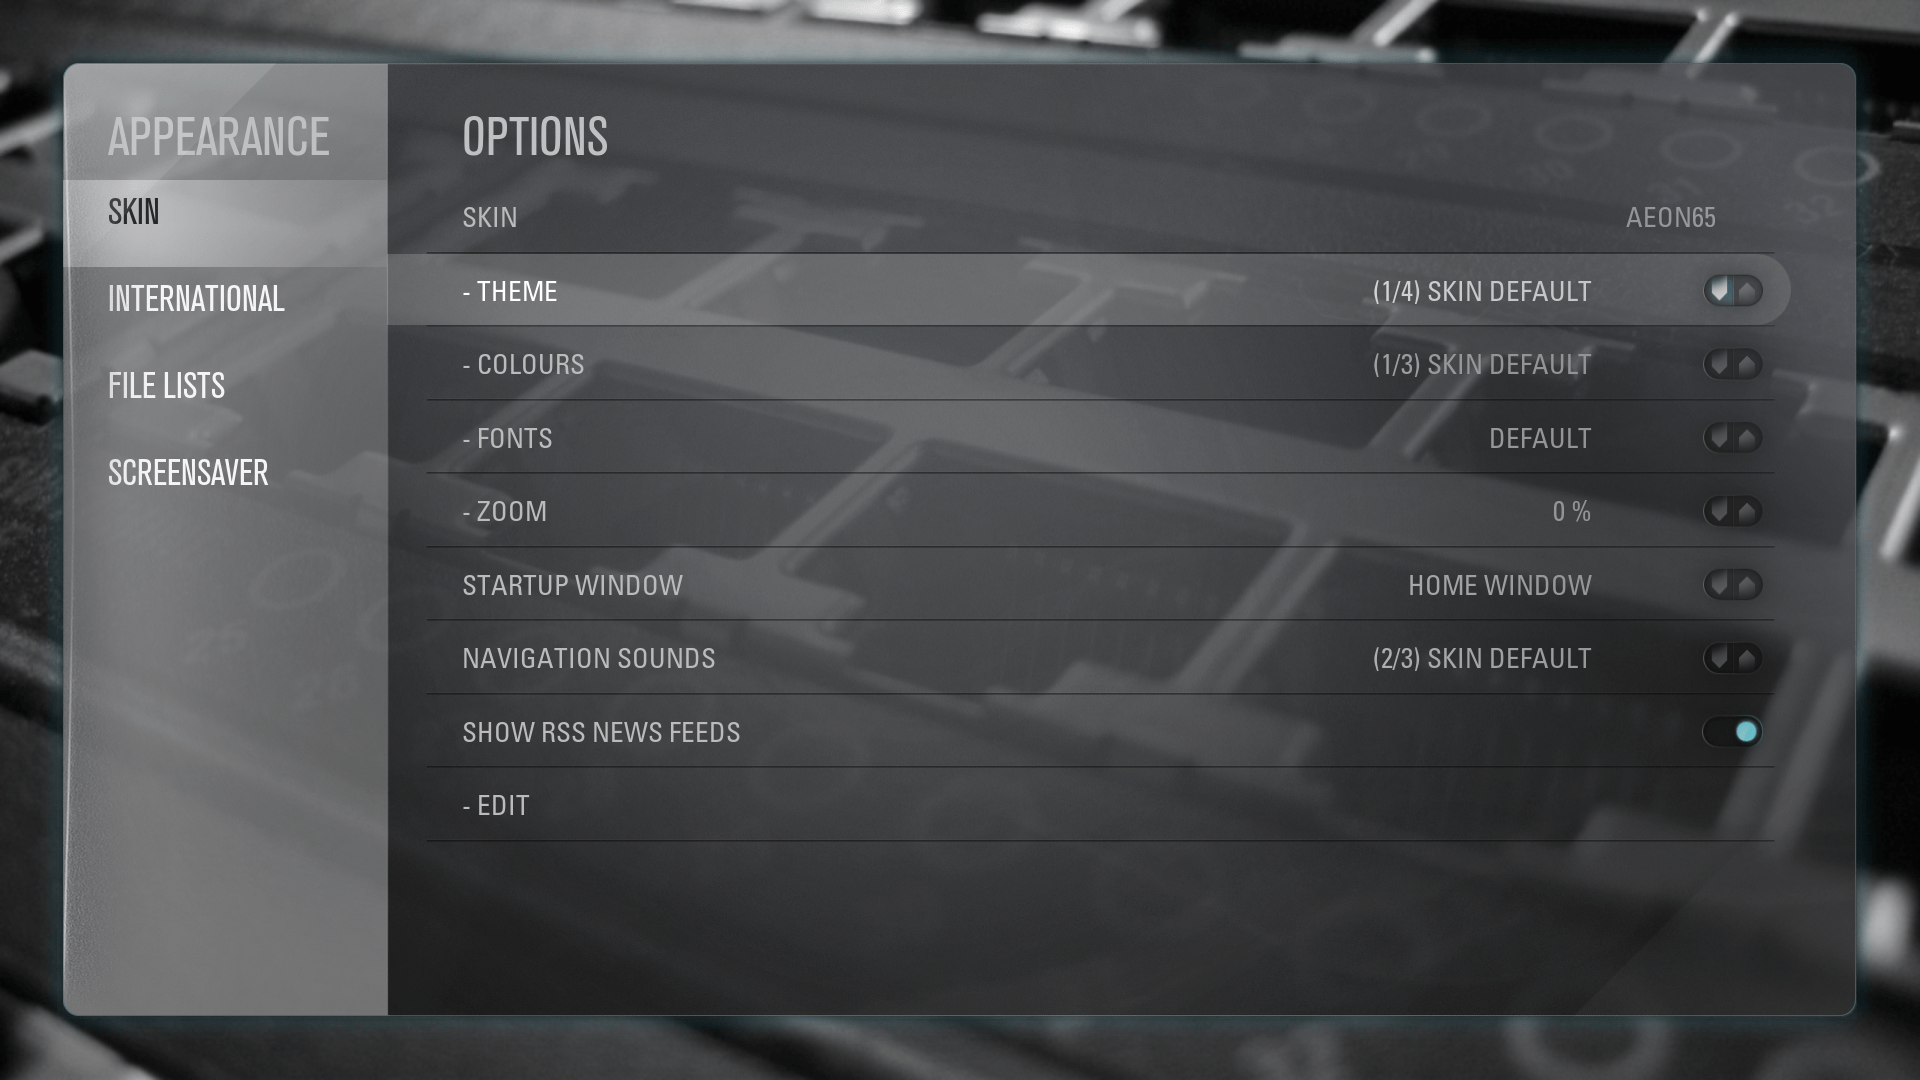
Restart XBMC if it was running, and change to the new skin by selecting it in System → Appearance → Skin.
These instructions are also available here.
Library Mode
XBMC can run in one of two different modes:
File mode: (for lack of a better name) videos are browsed to using the directory structure that they’d been stored in. Directories from many different sources can be added and browsed including SMB, disk, USB, etc.
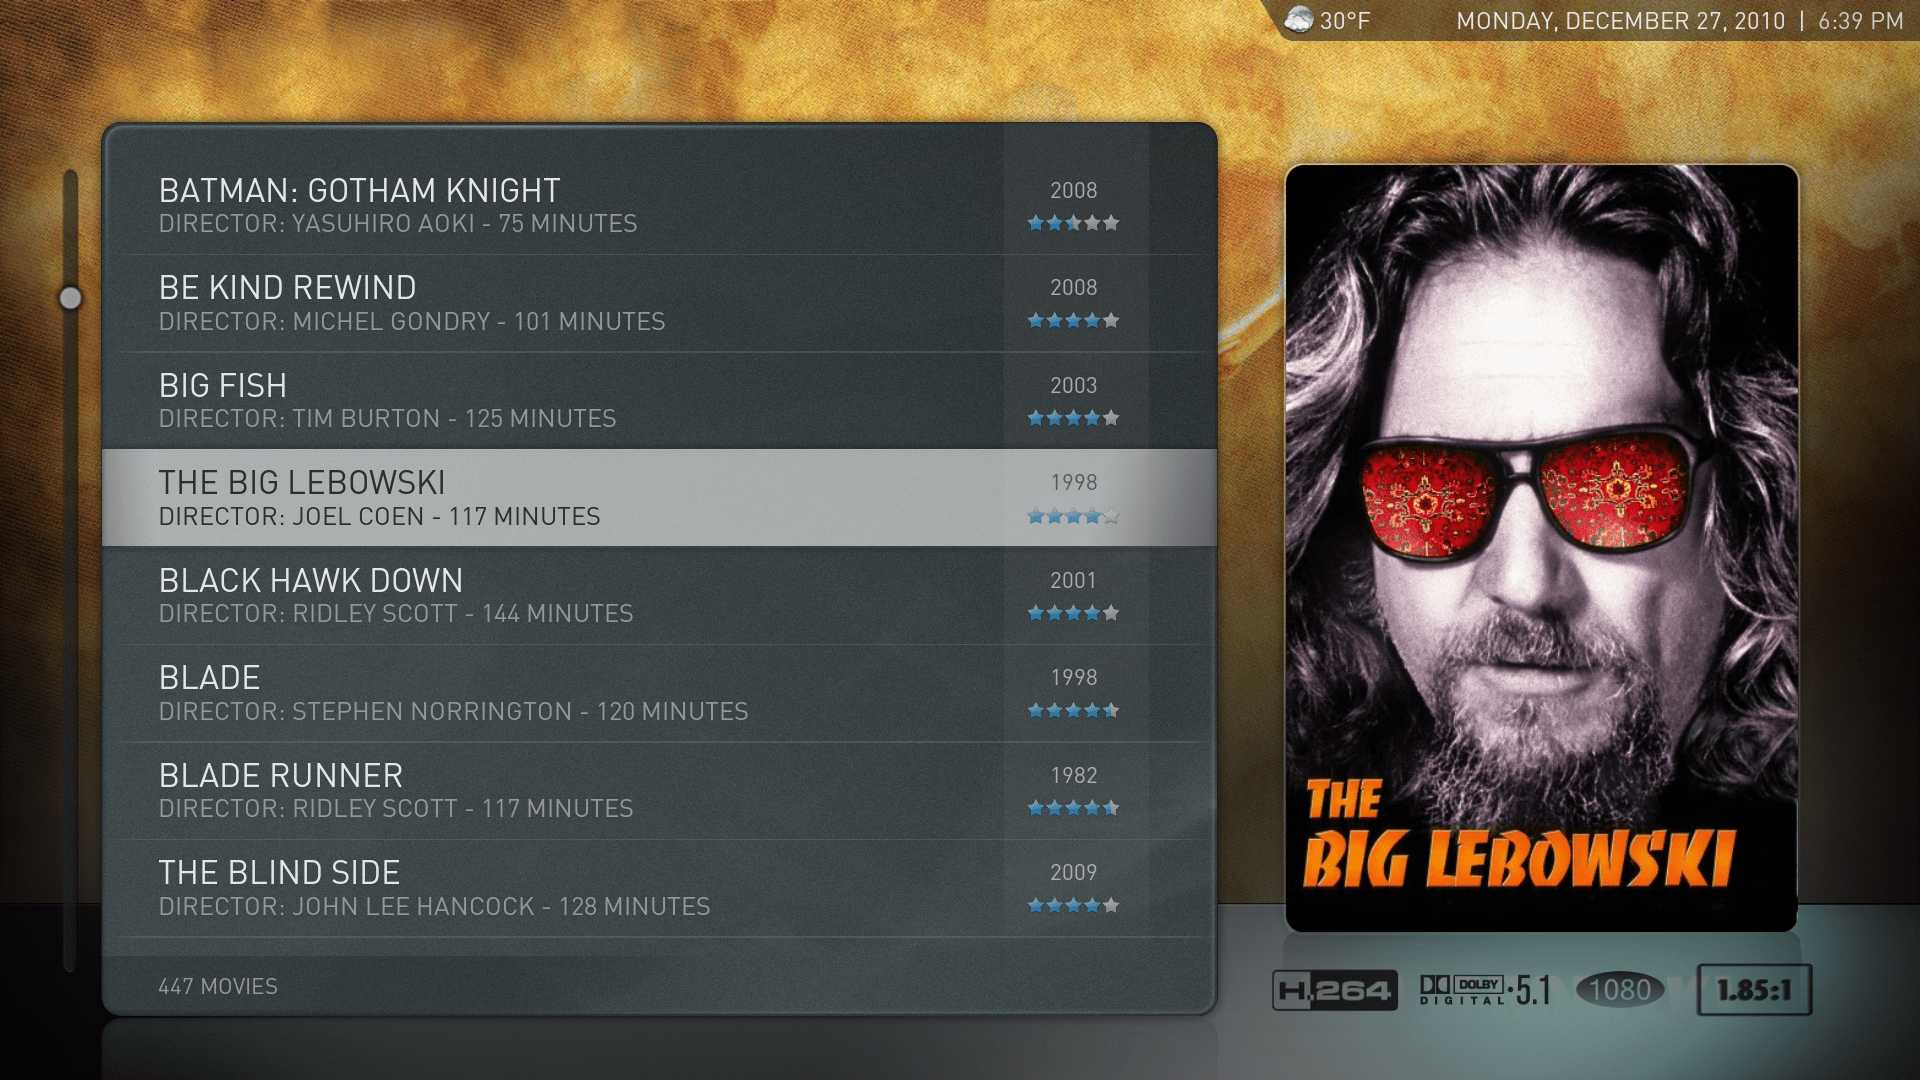
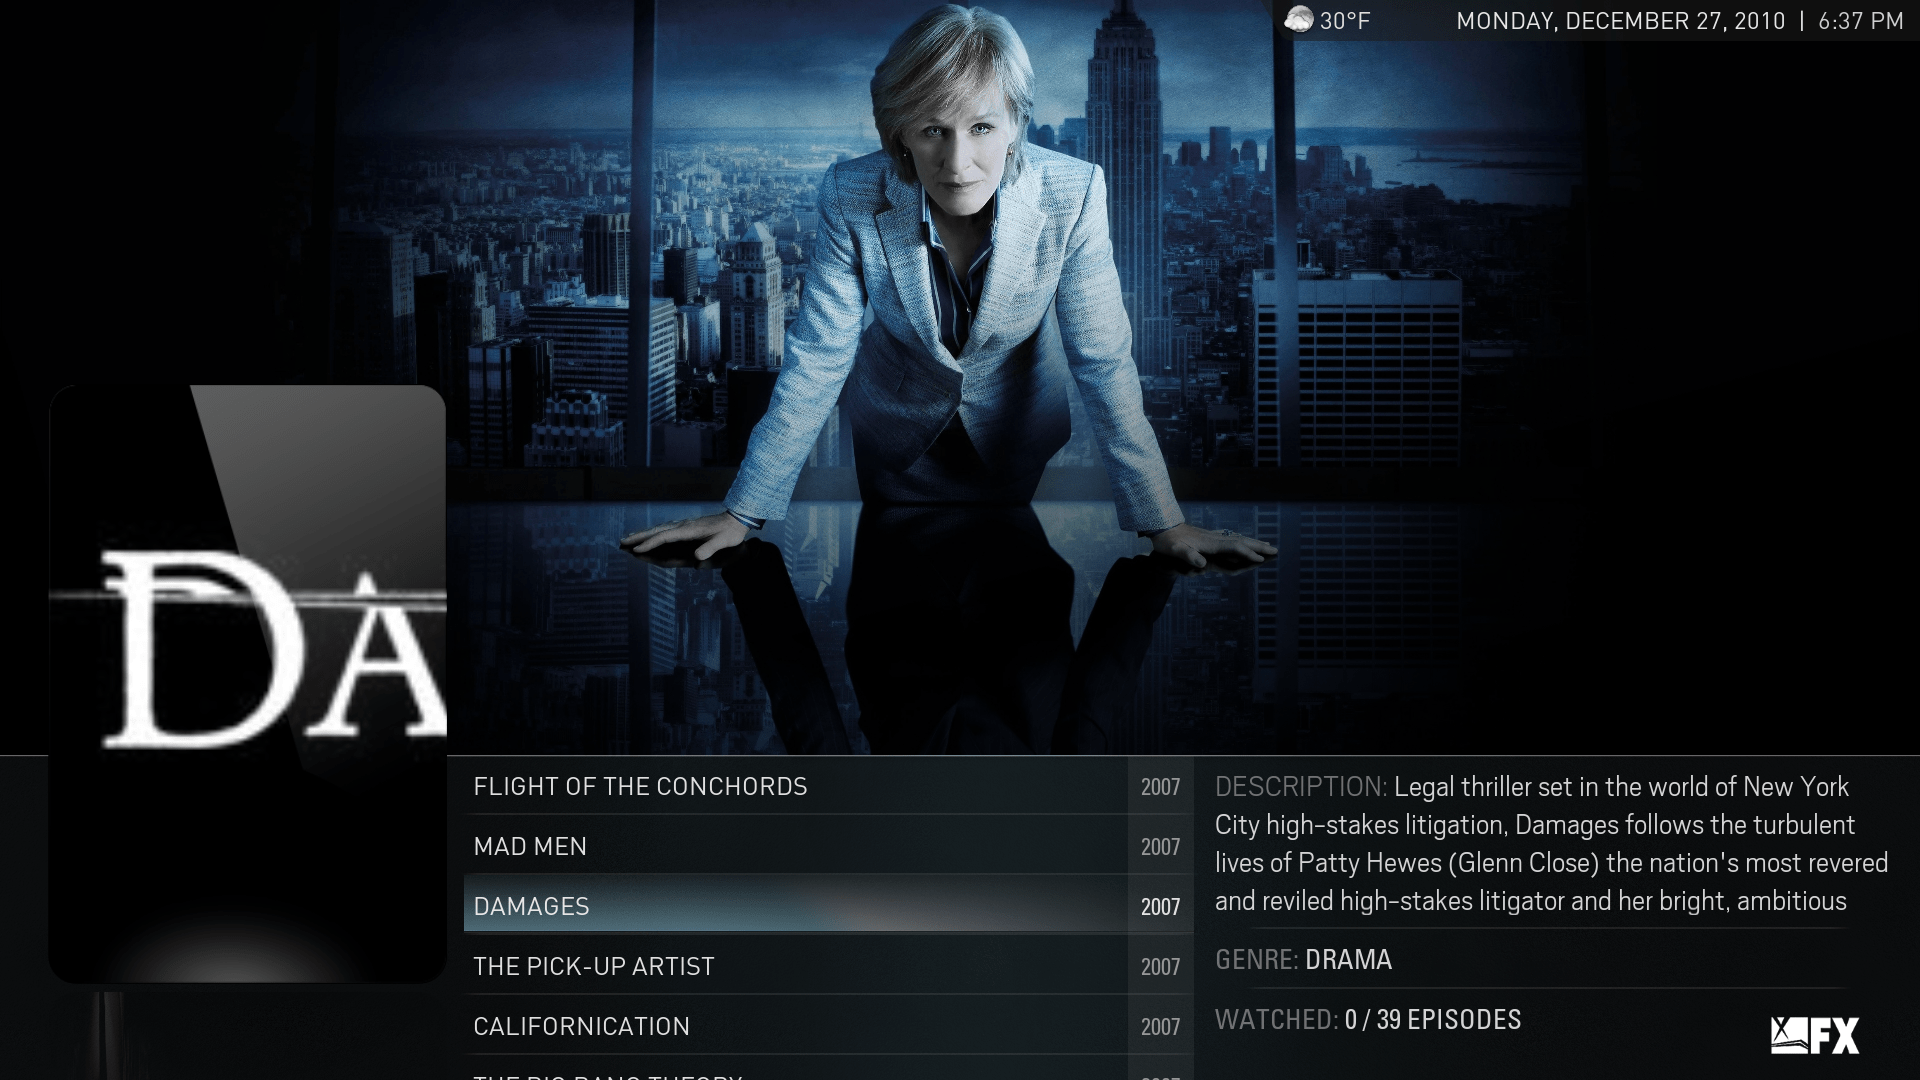
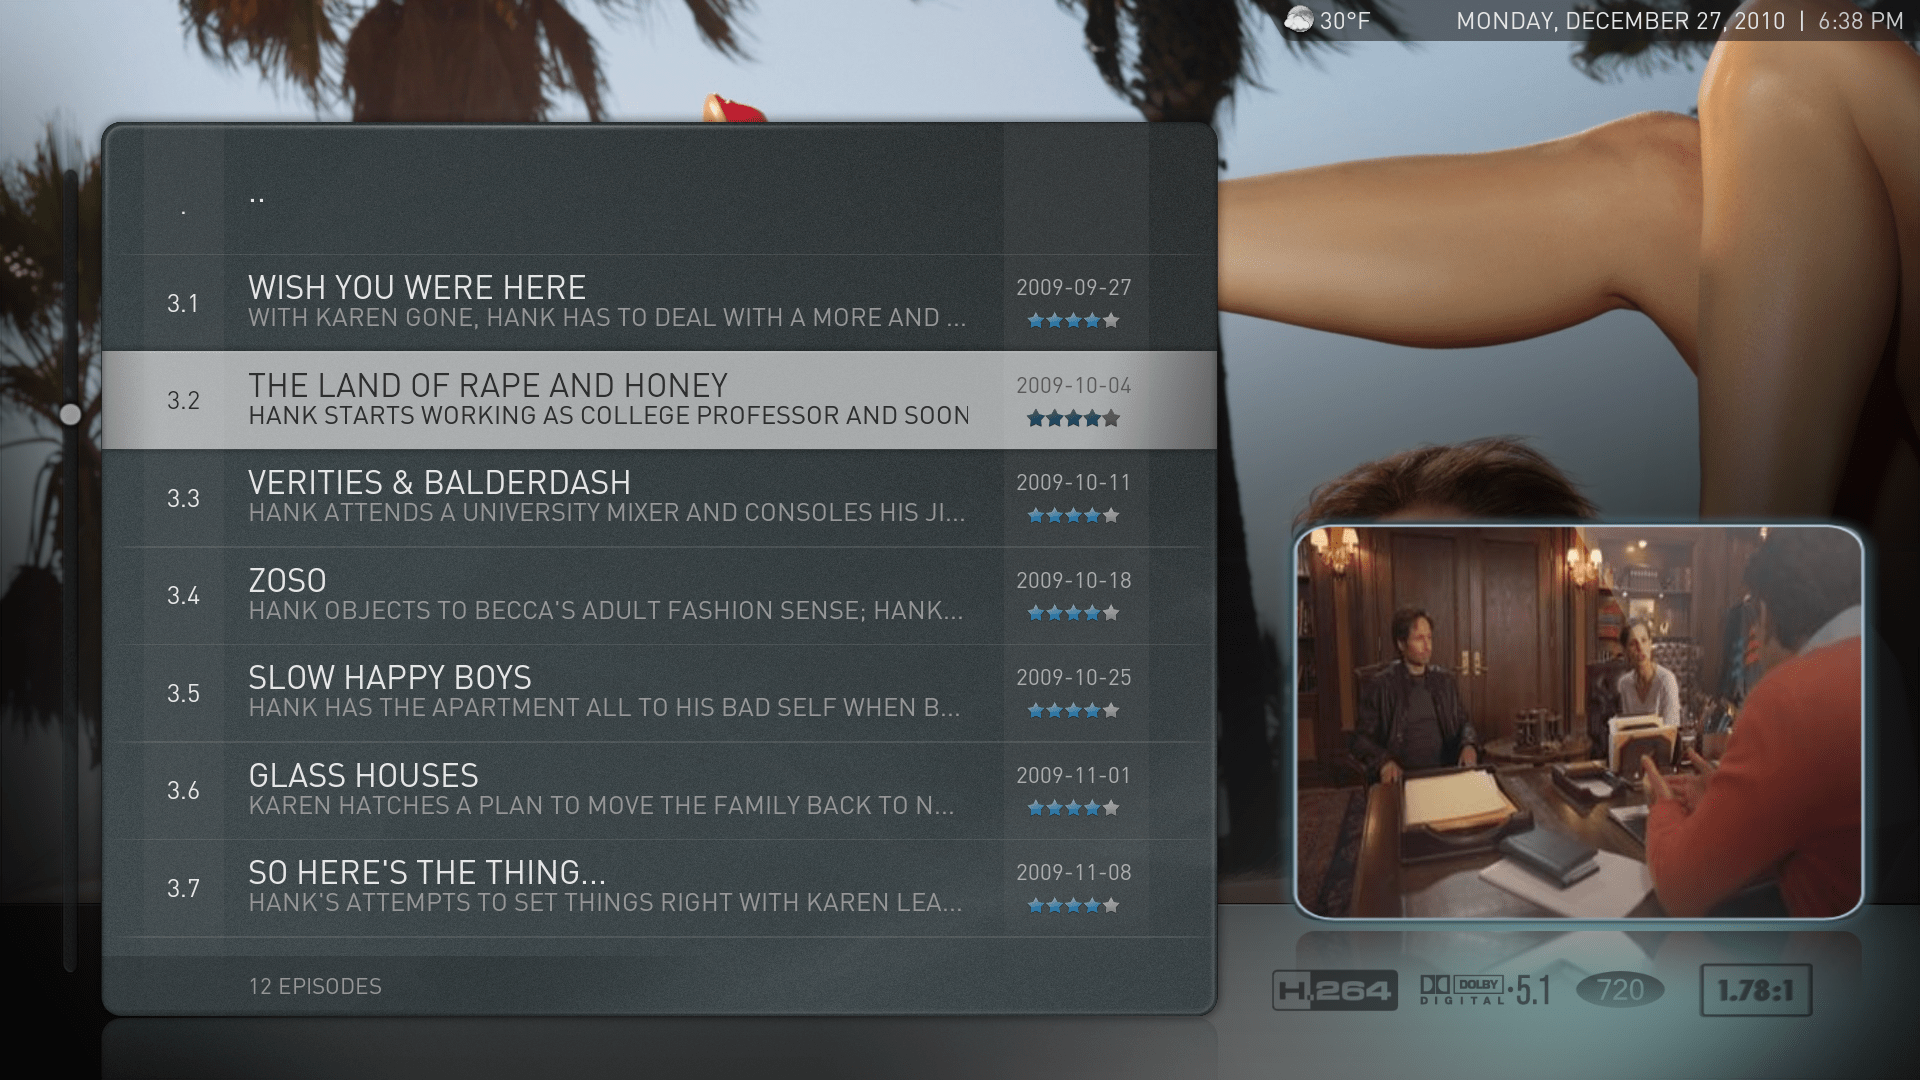
Library mode: all movies are extracted from all known movie sources and merged into a centralized library. This library can be browed by movie name but also via metadata such as year, directory, genre, etc. Same goes for TV shows.
Library mode is not default, but it is generally a better browsing experience, especially for novice users. Enabling it is just two easy steps:
Add a top-level movie source. From the main menu, go to “Videos” and add a source. Select the location of a movie source and set the content type to movies.
From the list of sources, press the left arrow until the “left side menu” comes out. You’ll see a Library Mode option. Enable it.
After returning to the main menu, there should be a new “Movies” section. A TV shows source can be added as well to bring up a “TV Shows” section.